Run A Freezeria Hat Tier List
Wear the scorer. Collect the rest. How to rank 56 hats without a fake name table.
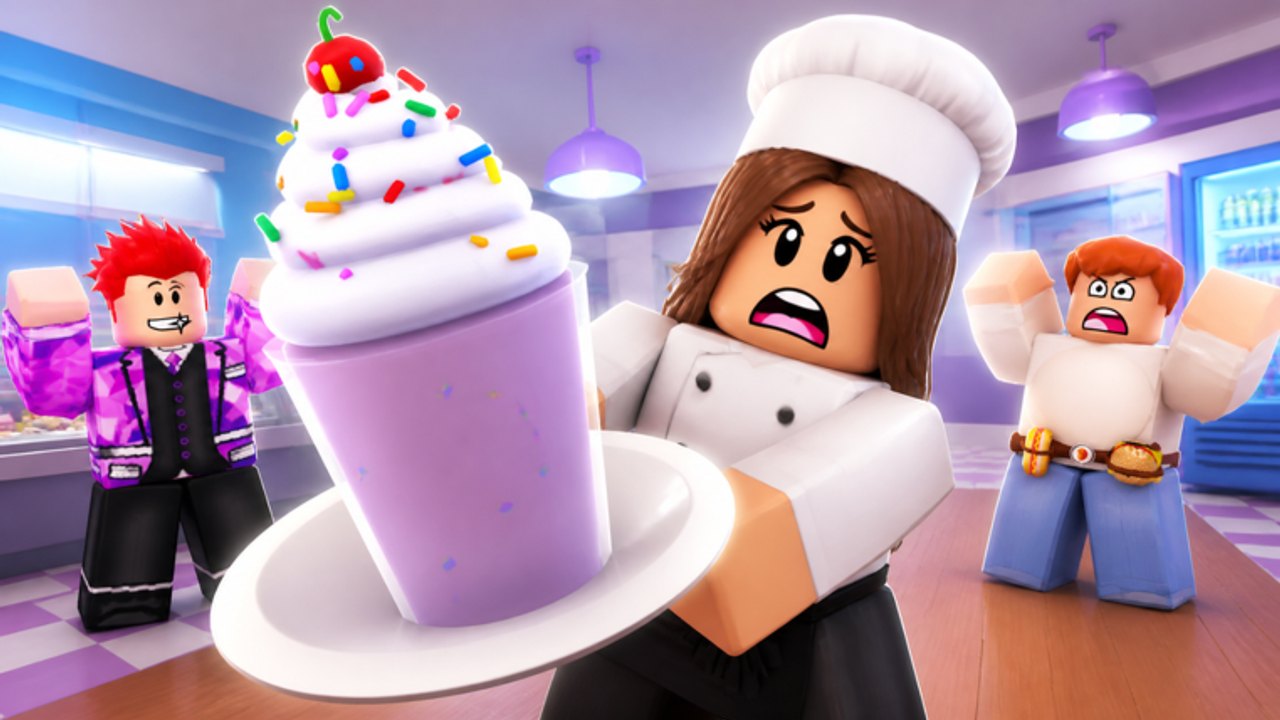
Hats in Run A Freezeria are advertised as point boosts, not just meshes. This list ranks them by that job. For how they drop, use how to get hats. For kitchen purchases, use the upgrade tier list. Do not wear a joke hat into a closer because a screenshot looked good on the island shop.
Current ranking (role-based)
Until every name is logged, use these bands:
S — Best scoring hat you own. Whatever tooltip or test gives the highest points on identical tickets. Equip it every shift. If Goals hands you a new candidate, A/B test it for five cups.
A — Strong scorer, slightly worse tooltip or situational. Keep in the hat slot swap if S is a limited event piece you do not want to risk on a messy server. Still a loadout, not a museum piece.
B — Small boost or untested new drop. Wear only if nothing better exists. Fine for a daily that says “wear a hat.”
C — Cosmetic with no measurable boost. Collection, screenshots, lobby. Take it off before perfect score attempts.
D — Duplicate or visual-only variant of C. Ignore until a completionist Goal asks for it.
That is the whole useful meta. A 56-row alphabetized fan list with invented rarities would look more “wiki” and help less.
How to test a hat in five tickets
- Serve five standard customers with hat A, write the grades.
- Serve five similar tickets with hat B.
- Keep the higher average. Ignore one outlier closer.
- If averages tie, keep the one you can see over — visibility is a control issue, see controls.
Do this after you already pour clean. Testing hats while you still miss Mix is noise. Read stations first.
Spending and Goals
Buy an S-tier candidate only after ring alarm / blender boost / auto-pour are in the kitchen, unless a Goal is about to expire and pays the hat for free. Free beats shop. Codes that grant hats will be listed on the codes hub when verified — none are live in this pass.
If two shop hats cost the same and only one shows a points line, that one is the buy. If neither shows a line, do not assume the pricier mesh scores harder. Test or wait.
Collection without wrecking rank
Master rank still wants grades. A full hat rack with a C-tier equipped is a trophy case wearing your loadout slot. Park cosmetics after the rush. Rank notes are on Rookie to Master.
When names are confirmed (chef hat, cherry cap, whatever the shop actually calls them), they will land in the matching band here with a drop source. We will not paste Flipline’s Sundae Hat price list. If a patch makes all hats equal, this page will say so on the same day the updates hub stamps it.
Wear S, collect the rest, go pour.
A last testing note: do not compare hats on a closer and a tutorial guest in the same five-cup set. Difficulty has to match or the average lies. If the tooltip shows a percent, write it down; if it only shows flavor text, the five-cup test is the whole tier list. When you finally have extra cash, buy the next unknown hat only to test it, then refund it in your head if it is C — the mesh can sit in the collection while S stays on your skull. That is how 56 hats stay a hobby instead of a bankruptcy. Pair any new buy with a look at Goals in case the weekly is about to gift the same mesh.
Frequently Asked Questions
Quick answers for new and returning sundae chefs.
What is the single best hat?
The best scorer in your inventory. Test new drops; do not trust a copied name from another freezer game.
Should I buy every hat?
Not before kitchen upgrades. Collection is a late sink. See how to get hats.
Do hats stack?
You wear one on your head. Extra copies belong in the collection, not in a secret second slot.
Will this list get named rows?
Yes, as soon as in-game names are logged. Until then roles stay more accurate than fan fiction.