Run A Freezeria Upgrade Tier List
Buy time, then comfort, then paint. Ranked from the official shop promises.
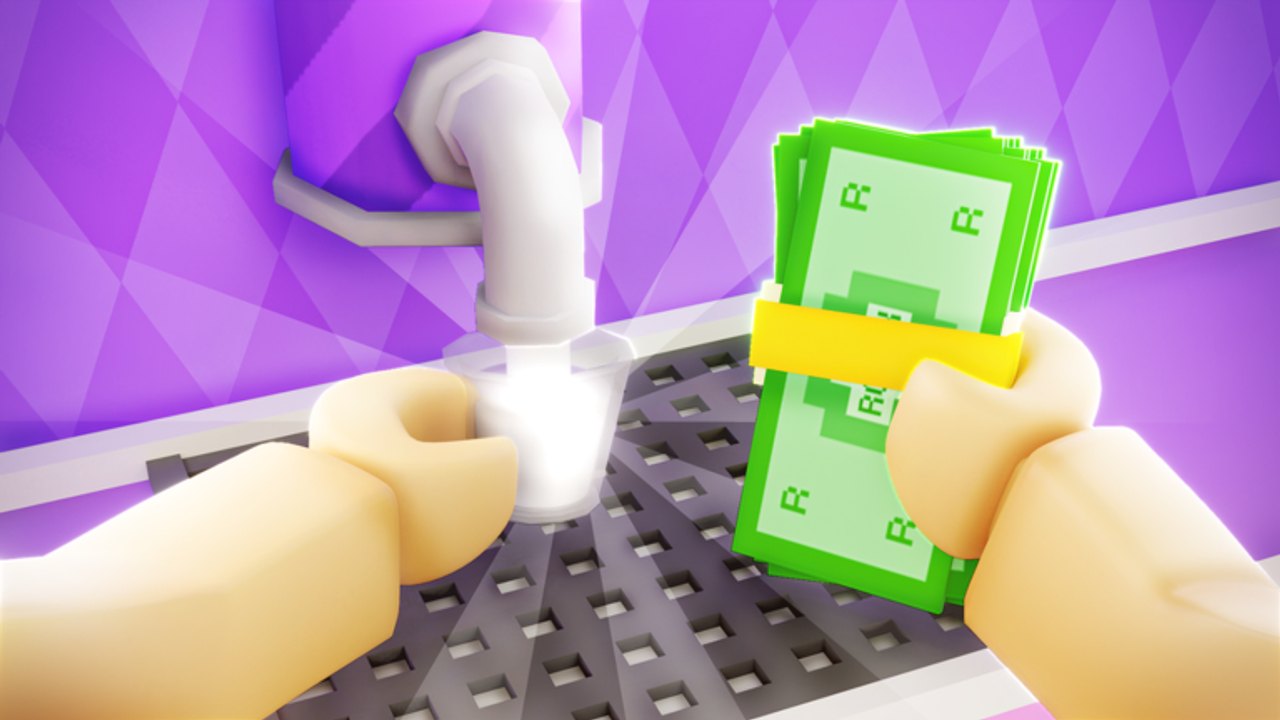
The Roblox listing names three upgrades worth ranking in public: auto-pour, boost blenders, and ring alarms. Everything else in the shop is either a follow-up rank of those systems or furniture. This list is the buy order. Pair it with the upgrade planner when you are holding Goal cash.
S-tier — buy before you decorate
Ring alarm. You cannot grade a customer you did not notice. Mix and Top both hide you from the door. An alarm (doorbell energy, named as ring alarms in the listing) is the cheapest skill you can purchase: it lets you finish a blend without missing Order. In 20-player noise it also cuts the “who is waiting?” chatter.
Blender boost (first rank). Mix is the time sink. A booster that you hold or toggle to finish a legal mix faster is the difference between one ticket and two. Do not boost every cup into over-mix — the stations page covers the window — but owning the boost is S. Extra boost ranks become A or B once the first is down.
A-tier — after you understand the meter
Auto-pour. Officially in the listing. It nails Build volume so your hands can prep mix-ins. Buy it after you have failed the meter enough to respect it; if you auto-pour on minute one you never learn to recover on a server where the upgrade lags. Mobile players may promote this to S because thumbs miss the window — see controls.
Second blender boost or speed rank. If the shop sells stacked boosters, the second is A: nice on rush, not the first purchase.
B-tier — quality of life
Ticket holders, extra rail space, louder alarms, UI helpers. Buy when S and A are done. They do not replace a scoring hat.
Special signs or customer magnets if they appear. Useful for Goals that want volume, not for perfect scores.
C-tier — furniture and paint
Chairs, posters, floor tiles, cherry roof flex. Goals will gift a lot of this. Spending starter cash here is the classic stall. Save it for after Master-track upgrades or for a weekly that literally says “place furniture.”
D-tier — cosmetics that pretend to be upgrades
Lobby statues, duplicate wallpapers, anything that does not touch pour, mix, hear, or ticket speed. If a seller in-server calls it “secret OP,” it is C at best.
Order in one line
Ring alarm → first blender boost → auto-pour → extra mix speed → hat if you lack a scorer → furniture. That line is also on the planner tool. Codes, when they exist, should dump into the first missing S or A item (codes hub).
Patch notes that retune prices will land on updates. Until a datamine shows extra named machines, do not buy a “secret fourth station” from another tycoon’s list. This kitchen is Build, Mix, Top. Upgrades only make those three honest.
If the shop sells cosmetic chef uniforms in the same pane as auto-pour, ignore the uniform until S-tier is done. Clothing does not pour. If a “2x cash” pass appears later, rank it against time savers: a cash pass on a slow Mix is still a slow Mix with a multiplier on 70% cups. Prefer tools that raise the grade, then tools that multiply it. Recheck this list after every updates stamp, because a cheap blender rank two can leapfrog auto-pour if a patch makes Mix the only remaining bottleneck on your save.
Frequently Asked Questions
Quick answers for new and returning sundae chefs.
What is the first upgrade to buy?
Ring alarm if you miss customers from Mix, otherwise the first blender boost. Auto-pour is next.
Is furniture ever worth it early?
Only if a Goal requires placing it. Otherwise it is C-tier until the kitchen is fast.
Does auto-pour make Build optional?
It pours volume. You still add mix-ins and still read the ticket.
Should I wait for a code to buy S-tier?
No. Goals already pay cash. Codes are unverified — see the codes hub.